3 ways to show loading indicators while switching routes in React Router
— React, React Router, Web Development — 6 min read
In this post, we're going to look at 3 different strategies to display loading indicators in a React Router app during page transitions or when switching between routes.
The first two strategies will be used to implement global loading indicators that will apply for all page transitions while the last one will be localized and will apply for a specific page.
This post assumes basic working knowledge of React and React Router.
Tutorial Project Setup
You don't need to setup a tutorial project and for the most part, the code snippets below will be adequate to understand how to implement these strategies but in case you want to follow along or need to refer to the full working examples, then you can download or clone the tutorial github repo.
You'll find 3 folders each corresponding to the 3 strategies being discussed here. Open each one of these folders in your terminal and install NPM dependencies using npm i.
Now you can test out each example by running npm run dev.
Global Transition Custom Loading Indicator
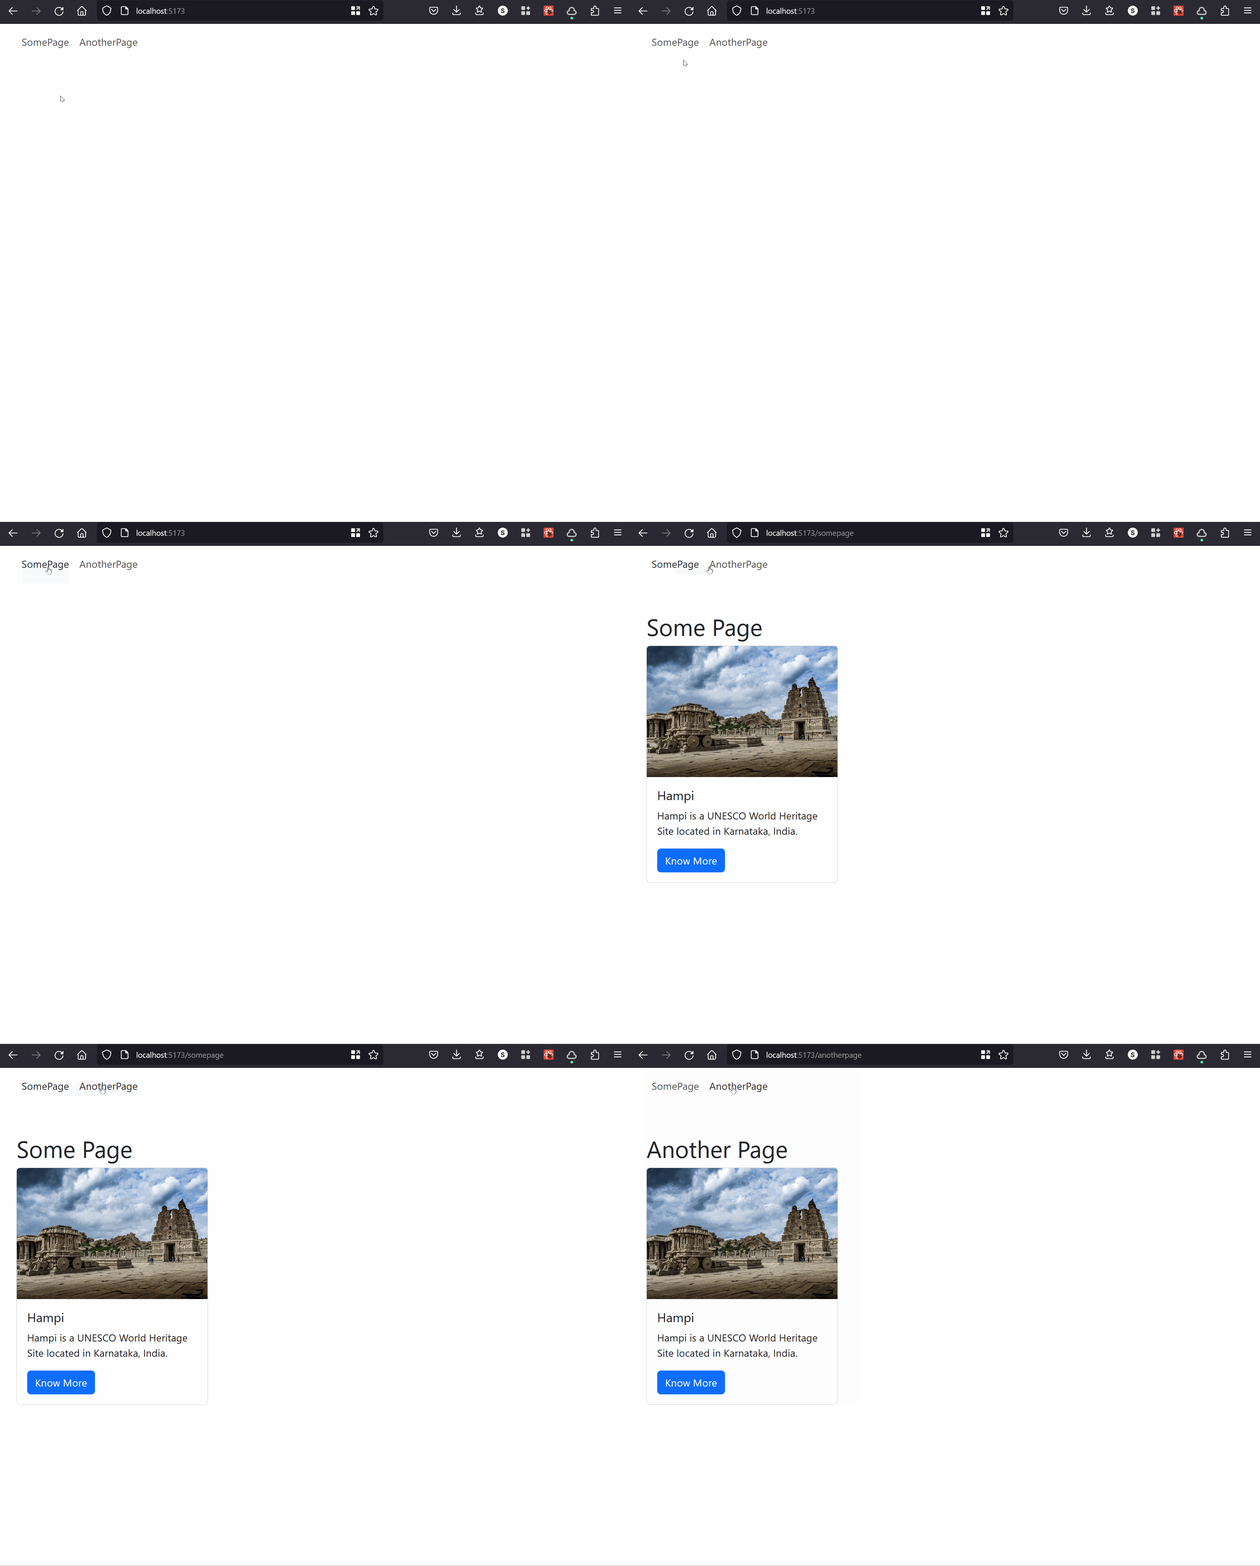
In this strategy, we'll use a custom loading indicator configured in the <Root /> route which will serve as a loading indicator for all child route transitions hence the name "Global".
The folder /global-transition-custom in the tutorial codebase corresponds to this strategy.
If you run npm run dev in this folder then this is how it will look like:

Lets find out how we can implement this. Open the global-transition-custom\src\Root.jsx file.
export default function Root() { const navigation = useNavigation();
return ( <> <nav className="navbar navbar-expand-lg bg-body-tertiary"> ... </nav> {/* Loading indicator will apply for all child routes */} { navigation.state == "loading" ? <LoadingIndicator /> : <Outlet /> } </> );}All you need to do is use the useNavigation() hook and then show your custom loading indicator, in this case <LoadingIndicator /> when navigation.state carries the value loading. Otherwise, you simply output the route's children into <Outlet />.
Global Transition 3rd-party Loading Indicator
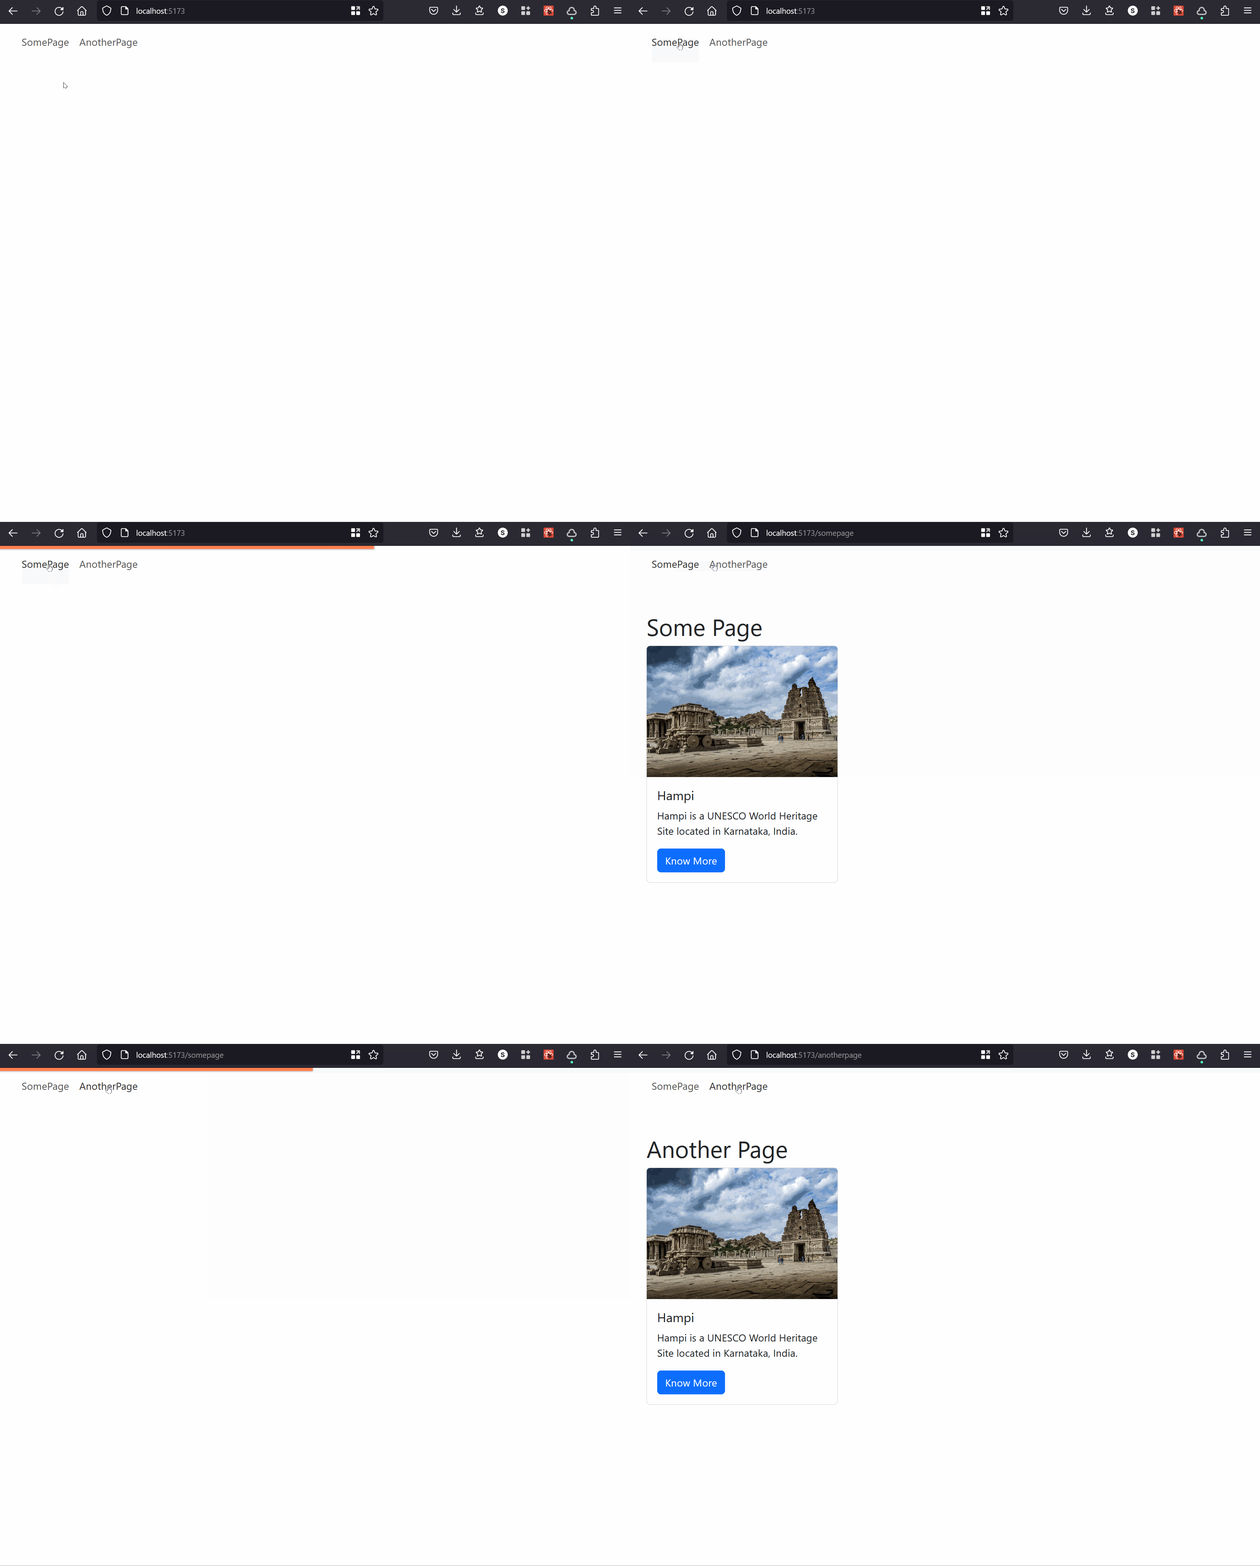
This is similar to the custom loading indicator strategy in its implementation but the difference is that instead of a "custom" loading indicator, we're going to be using a third-party loading indicator specifically react-topbar-progress-indicator.
Similar to the previous strategy, this is also going to serve as a common loading indicator for all child routes within <Root /> hence the name "Global".
This progress-bar comes packed with all the bells and whistles and looks really good and polished right out of the box, thereby saving you from the hastles of designing a similarly styled custom loading indicator. Moreover, you also get various options to customize the colors, size, etc.
The folder /global-transition-3rdparty in the tutorial codebase corresponds to this strategy.
If you run npm run dev in this folder then this is how it will look like:

Lets find out how we can implement this. Open the global-transition-3rdparty\src\Root.jsx file.
import { Link, Outlet, useNavigation } from "react-router-dom";import TopBarProgress from "react-topbar-progress-indicator";
TopBarProgress.config({ barColors: { "0": "#ff7f50", "1.0": "#ff7f50" }, barThickness: 5, shadowBlur: 2});
export default function Root() { const navigation = useNavigation();
return ( <> <nav className="navbar navbar-expand-lg bg-body-tertiary"> ... </nav> {/* Loading indicator will apply for all child routes */} { navigation.state == "loading" ? <TopBarProgress /> : <Outlet /> } </> );}First, we import TopBarProgress from our third-party NPM package react-topbar-progress-indicator. We use TopBarProgress.config() method to customize the color, thickness and shadows for the progress-bar. And then finally within <Root />, we show the <TopBarProgress /> component when navigation.state acquires the value loading otherwise we just render the route's children into <Outlet />.
Localized Skeleton UI
Our final strategy can be implemented for a specific route rather than for all child routes hence the name "Localized".
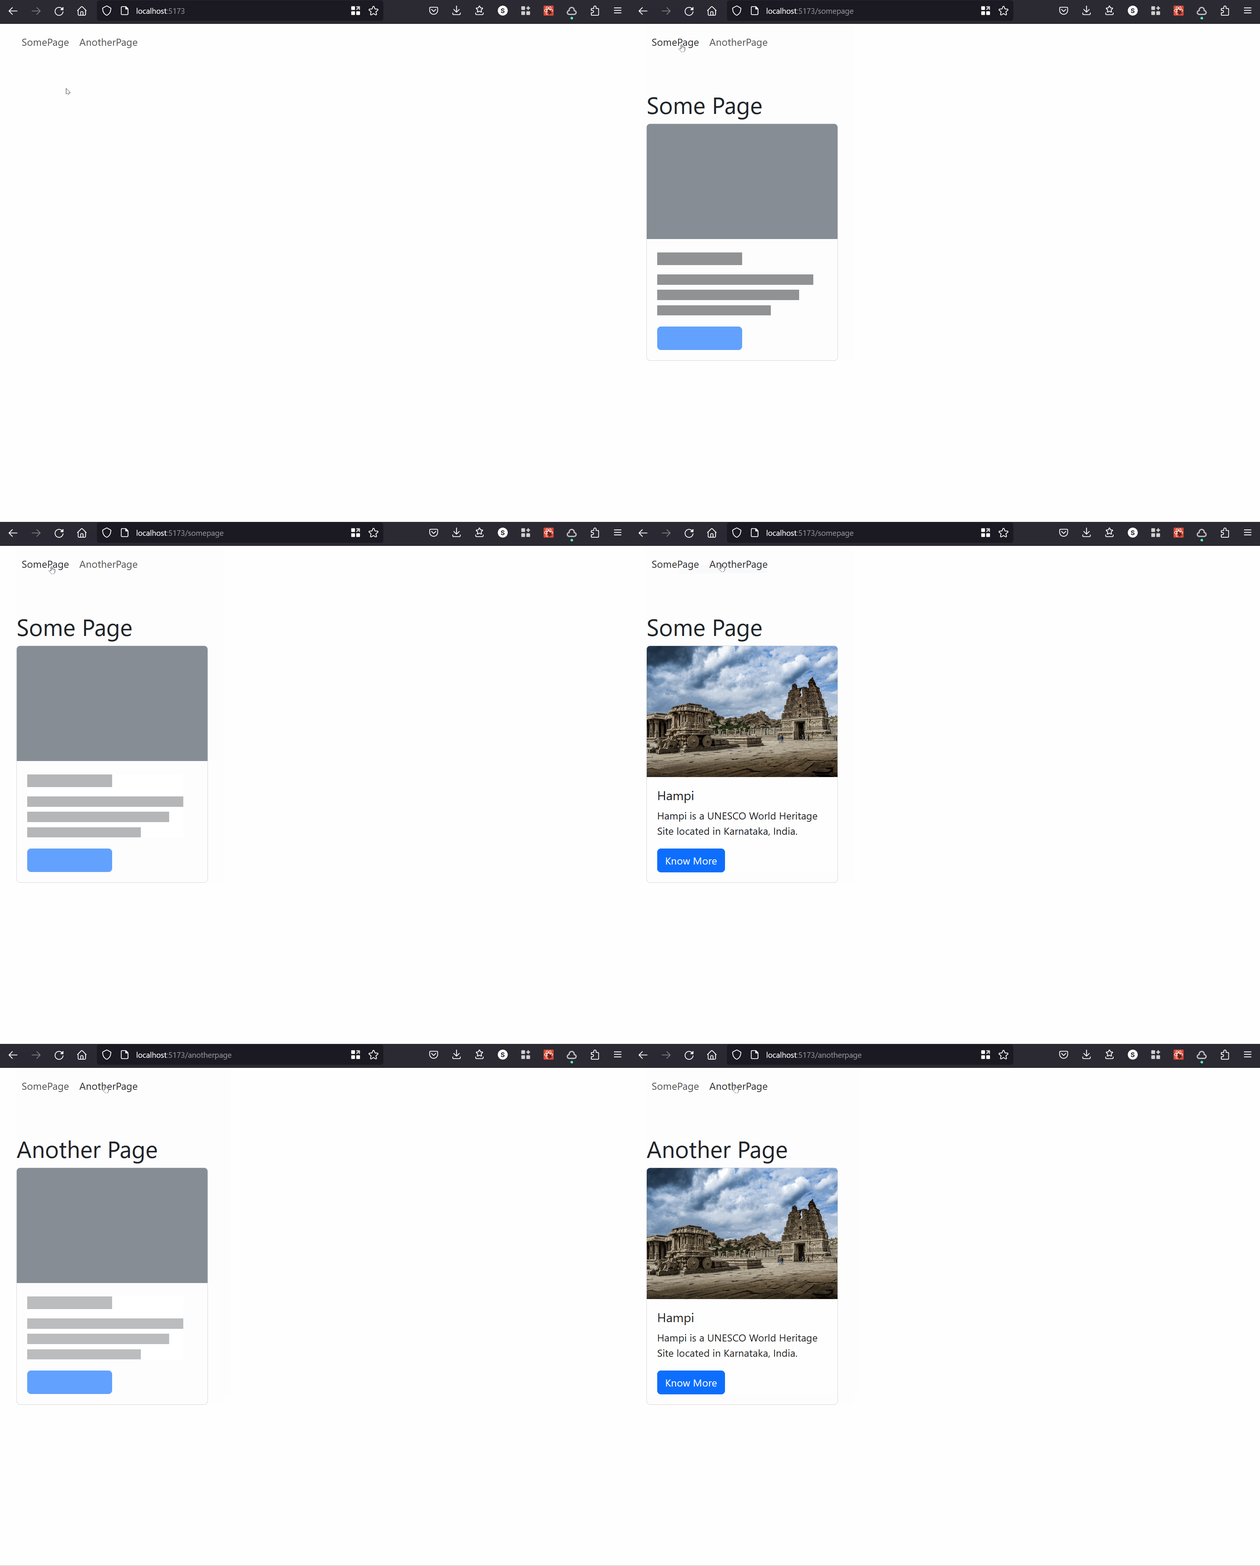
A skeleton UI is like a placeholder UI without data and can be shown while the data is being fetched. After the data is fetched successfully, the skeleton UI can be replaced by the actual data-hydrated UI. You must have seen this in action on apps like Youtube.
The folder /localized-skeleton-ui in the tutorial codebase corresponds to this strategy.
If you run npm run dev in this folder then this is how it will look like:

If you check the localized-skeleton-ui\src\Root.jsx file, you'll notice that we are not using useNavigation() like the previous strategies. We are simply rendering the route's children into <Outlet />. So basically, the <Root /> route is not managing the display of loading indicators.
If you open, localized-skeleton-ui\src\SomePage.jsx, you'll notice that we've done things a little differently in the loader() and the component.
export async function loader() { return defer({ data: getData() });}
export default function SomePage() { const { data } = useLoaderData();
return ( <> <div className="container mt-5"> <div className="row"> <div className="col"> <h1>Some Page</h1> <React.Suspense fallback={ <CardSkeleton /> }> <Await resolve={data} errorElement={<div className="alert alert-danger">Something went wrong!</div>}> { (data) => <Card {...data} /> } </Await> </React.Suspense> </div> </div> </div> </> );}We've made use of Deferred Data Loading features of React Router combined with React Suspense.
I've written a separate post on how localized skeleton UIs work in a React Router app. Please check that out for more information.
Basically, our loader(), instead of returning a resolved value is returning a Promise object. This allows the <SomePage /> component to be rendered immediately since it doesn't have to wait for the Promise to resolve. While the AJAX call is in progress, <React.Suspense /> will render the component specified in the fallback attribute which is our skeleton UI <CardSkeleton />. When the AJAX call completes, <Await /> will use data to render the <Card /> component and replace the skeleton UI.
You'll notice the same logic implemented in the localized-skeleton-ui\src\AnotherPage.jsx file.
Since the UI of every page can differ from one another, similarly, the skeleton UI for each page will also be different and hence this strategy works on a per-page level rather than globally.
And that concludes the tutorial on the 3 strategies for displaying loading indicators while transitioning from one page to another in React Router.
To summarize, these 3 strategies are:
- Global Transition Custom Loading Indicator
- Global Transition 3rd-Party Loading Indicator
- Localized Skeleton UI
Hope this helps!🙏